My Homemade Film Rack
 
(Photo of film rack) The homemade rack is about the same size as the commercial racks. The archives recommend that films be stored horizontally to reduce the risk of sagging. This is probably an exaggerated concern. It is probably more important for very large reels due to the weight. I keep most of my features horizontally on metal shelving units, but it is a hassle to get one out to watch it. For convenience, I keep my short films on film racks. The commercial metal film racks, mostly made by Neumade, are very sturdy, and can occasionally be found cheaply at surplus auctions. They are very expensive new. They have a wire divider between each film so that when a film is removed, its place is held until it returns. Most commonly, these are sized either for 400' reels or for 1600' reels. They are not very efficient for storing 800' reels. 

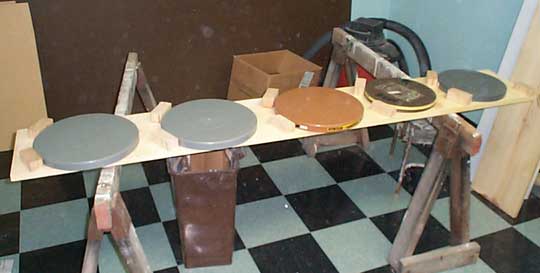
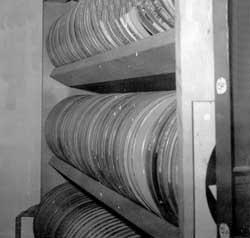
My homemade rack is sized to fit 800' and 1200' reels. You can make your version to fit your needs. It will hold more films than the commercial racks because there are no dividers, and the shelves are optimized to your needs. The materials are relatively cheap, and it can be made quickly with only a hammer and a hand saw. 

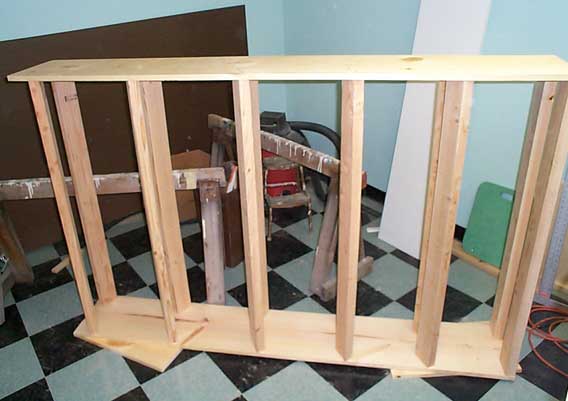
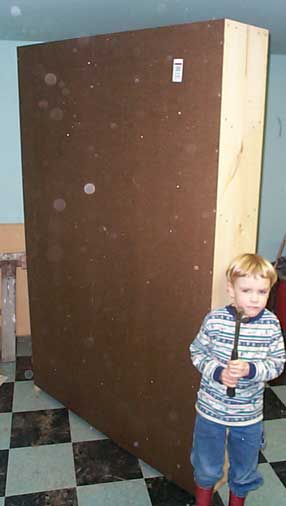
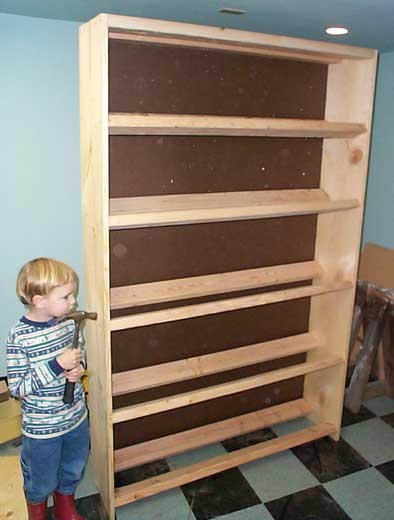
The shelves are made of two 2x4's at an angle. Cut these 46 1/2 inches long. The ends are pine 1 x 12. You could also use 3/4 inch plywood cut to size, but this is more cutting I wouldn’t use particle board, it isn’t strong enough. When determining the height of the rack, be sure that it is not too tall to tilt up to a vertical position. A piece of 1/4 inch plywood is nailed to the back to make it sturdy. Diagonal braces could be substituted to reduce cost, but it wouldn't be as strong. 

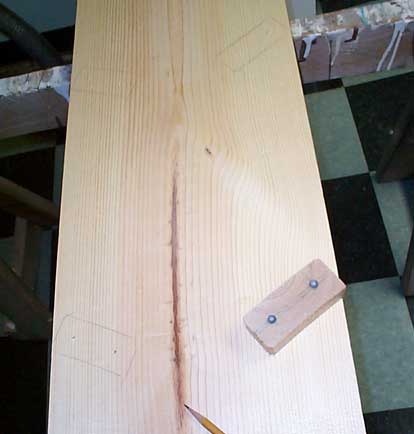
Cut the 1 x 12s about 9 inches shorter than you ceiling so that you will be able to tilt it up.  Use film cans to do a layout on one of the boards.  Make sure that you will be able to get the cans out between the 2 x 4s.  Mark the position of the 2 x 4s on both boards.  Nail them to one board and then to the other.  Now nail the 1/4 inch plywood to the back.  Stand it up, and load with films.

(drawing of film rack)

When I built another one, I took some photos as I put it together.  Here are a series of photos showing the steps.

(photo of determining spacing of supports)
Here I have laid out the film cans to mark where to put the supports.  Be sure it is possible to slide the film cans out the front.  I marked the locations on the boards with pencil.
(Photo of marking hole locations)
I made a drilling template and used it to drill pilot holes through both sides at the same time.
(Photo of transferring marks)
After flipping things over, I put loose nails in the drilling template, and used it to mark the locations for the 2 x 4's on the other side.
(Photo of film supports in place)
Here I have nailed the 2 x 4's to the side pieces.  It's hard to do this part without getting help holding things.
(Photo of back of rack)
I attached a back to it to provide strength.  I used 1/8 inch hardboard, which is cheaper than plywood.
(Photo of finished rack)
Here is the finished rack, ready to  load.

Copyright 2001, 2005, Paul Ivester

Go Back to Paul's Film Page